One of the best decisions I’ve made in my RV was giving the cabinets a fresh coat of paint. It completely changed the look and feel of the interior, making it feel more spacious, modern, and personalized. But painting RV cabinets is not like painting cabinets at home. The materials are different, the surfaces can be tricky, and if you don’t take the right steps, the paint won’t last long. I want to share with you the best tips for painting RV cabinets that last lessons I learned through trial, error, and ultimately, success.
Whether you’re renovating your motorhome for full-time living or just refreshing it for the season, a solid cabinet paint job can work wonders. This isn’t just about picking a pretty color. It’s about the right prep, products, and process to make sure that paint sticks through road vibrations, temperature changes, and everyday wear and tear.
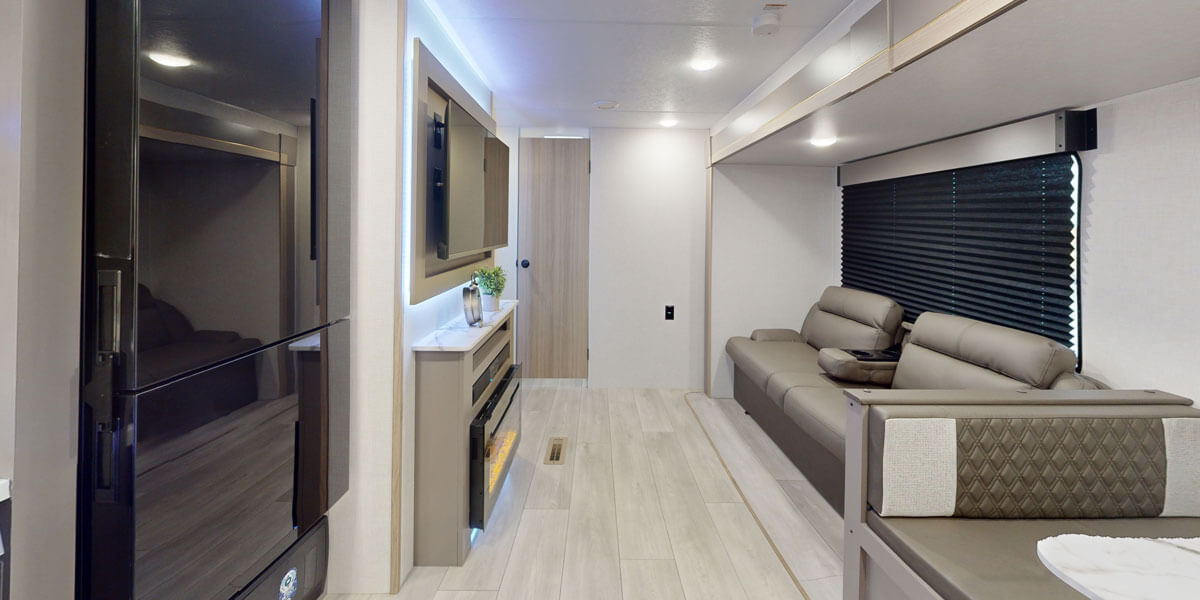
Inspecting the Cabinets Before Starting
Before I touched a paintbrush, I took a good look at the cabinets. Most RV cabinets aren’t made from solid wood. Instead, they’re built from MDF, particleboard, or plywood with a thin veneer. Others are laminate. All these materials need special care if the goal is durability.
I looked for signs of water damage, peeling surfaces, or delamination. Any cabinets with major issues had to be repaired before painting. If the surface isn’t sound, no amount of paint will make it look good or last.
One of the essential tips for painting RV cabinets that last is to address the structure before the style. Don’t skip this inspection step it can save hours of frustration later on.
Removing Cabinet Doors and Hardware
I strongly recommend taking off all cabinet doors, drawer fronts, and hardware before painting. It may seem like extra work, but it leads to a cleaner finish and better coverage. I used a cordless drill to unscrew the hinges and kept all the screws and knobs in labeled bags to stay organized.
Each door was numbered with painter’s tape so I could put them back in the exact spot. This made reassembly a breeze later on. I also removed latches, bumpers, and anything else that could get in the way of a smooth coat of paint.
Disassembling the cabinets is one of the key tips for painting RV cabinets that last. It gives you more control and ensures even results on all surfaces.
Thorough Cleaning and Degreasing
RV cabinets pick up a lot of grime, especially in the kitchen area. I cleaned every surface thoroughly with a degreaser. My go-to was a 50/50 mix of water and vinegar, followed by a rinse with warm water and dish soap. For tougher spots, I used TSP (trisodium phosphate), which really cuts through built-up gunk.
Any residue whether it’s cooking oil or road dust can keep paint from sticking. I took my time here and double-checked everything under bright light to make sure I didn’t miss a spot.
Proper cleaning is not just a suggestion it’s one of the most vital tips for painting RV cabinets that last.
Lightly Sanding Every Surface
Sanding was probably the most tedious part of the process, but also the most important. I used a fine-grit sanding sponge (usually 120 to 220 grit) to scuff the entire surface of each cabinet door and frame. This gives the primer something to grip onto and helps prevent peeling later on.
For laminate cabinets, I was especially careful not to sand through the top layer. The goal is to dull the sheen, not expose the substrate. I vacuumed and wiped away all the dust before moving on.
If you’re looking for real-world, tested tips for painting RV cabinets that last, sanding is one step you cannot skip.
Choosing the Right Primer
RV cabinet surfaces can be finicky, especially if they’re laminate or have a glossy finish. I used a bonding primer designed for slick surfaces, and it made a world of difference. These primers are formulated to stick to tough surfaces and create a solid base for paint.
I brushed on one coat of primer using a quality angled brush for the edges and a small foam roller for the flat surfaces. After it dried, I gave it a light sanding to smooth out any imperfections and help the paint layer bond better.
Using a primer isn’t optional it’s one of the top tips for painting RV cabinets that last and makes all the difference in how the finish holds up over time.
Selecting Durable Paint
When it came time to pick a paint, I chose a high-quality acrylic latex paint with a semi-gloss finish. This type of paint is tough, washable, and easy to clean exactly what you want in a small space like an RV where surfaces get touched a lot.
Avoid flat or matte paints, which tend to stain and wear quickly. A satin or semi-gloss finish is much better suited for RV cabinets because it resists dirt and moisture.
I applied two coats, allowing plenty of drying time between them. It’s tempting to rush, but patience here pays off in durability. I used a combination of brush and roller, focusing on long, even strokes.
Investing in quality paint and giving it time to cure are crucial tips for painting RV cabinets that last.
Using a Top Coat for Extra Protection
Because my RV is used full-time and the cabinets get heavy use, I opted for a protective top coat. I used a water-based polyurethane in a satin finish. It added an extra layer of scratch resistance and made the surfaces easier to clean.
I let the painted cabinets cure for at least three days before applying the top coat. Then I used a foam brush to apply two thin layers, with light sanding in between.
Not everyone chooses to seal painted cabinets, but it’s one of my favorite tips for painting RV cabinets that last, especially if you travel often or have pets and kids on board.
Reinstalling Hardware and Doors
After everything dried and cured, I reattached the hardware and reinstalled the cabinet doors and drawers. I took my time making sure the hinges were aligned and the doors hung straight. If you’re adding new handles or knobs, this is a great chance to upgrade your hardware too.
Some RVers opt for soft-close hinges, and that’s something I might do in the future. It adds a touch of luxury and prevents those loud slams that can damage paint over time.
Attention to detail during reassembly is another of those small but impactful tips for painting RV cabinets that last.
Letting the Paint Fully Cure
Even though paint feels dry to the touch after a few hours, it takes several days to fully cure and harden. I avoided heavy use of the cabinets for at least a week and opened windows to keep fresh air circulating.
Once the paint was cured, the surface felt smooth, durable, and ready for anything. Don’t rush back into daily use give it time to settle and strengthen.
One of the most overlooked tips for painting RV cabinets that last is simply allowing enough cure time before exposing them to normal wear and tear.
Maintaining the Finish Over Time
Now that the cabinets look fresh and new, I want to keep them that way. I use a gentle all-purpose cleaner to wipe them down weekly and avoid anything abrasive. If a scratch does appear, a little touch-up paint goes a long way.
Occasionally, I check for any areas where moisture might gather, especially around the sink and stove. Catching issues early prevents the paint from bubbling or chipping.
A little maintenance keeps your hard work looking great and reinforces the value of following the best tips for painting RV cabinets that last.
Final Thoughts
Painting your RV cabinets can completely transform your space and make it feel like a brand-new home on wheels. It’s not just about aesthetics it’s about making your environment feel more like you. With the right prep, the right products, and a bit of patience, the paint job will hold up through every mile, every season, and every adventure.
The best tips for painting RV cabinets that last are rooted in preparation: clean thoroughly, sand well, use a bonding primer, invest in high-quality paint, and don’t skimp on dry and cure times. Each step matters and builds on the one before it.
Now every time I step into my RV, I get to enjoy the crisp, clean look of cabinets I painted myself. The results are worth the effort and they’re built to last.