RV Campground Arrival Checklist: Essentials To Handle Before You Arrive
A smooth RV stay starts long before you roll up to the gate. The essentials to handle before you arrive are simple: confirm your reservation logistics, verify your site’s fit and hookups, test your RV’s core systems at home, pack the right electrical/water/sewer gear, stage safety tools, and have your documents and payment ready. Do these steps, and you’ll shorten RV check-in, avoid costly mistakes, and set up faster with less stress.
RV Critic
At RV Critic, we favor a practical, gear-first process that saves time and protects your rig. Confirming reservations, right-sizing your site (pull-through vs back-in), and running systems checks at home cuts delays and service calls, especially for first-timers learning their equipment under real load (see Lippert’s new owner checklist guidance for additional context). We emphasize clean power (30 amp vs 50 amp), surge protector/EMS protection, proper water pressure, and towing hardware fitment—from adjustable ball mounts to corrosion-resistant stainless/marine‑grade hitches—so you arrive confident and ready.
“Pre-arrival checklist” definition: “A pre-arrival checklist is a short, repeatable routine you complete before reaching the campground. It verifies reservations, site fit, utilities, and critical RV systems, then confirms you’ve packed the right gear and documents. The goal is simple: prevent delays, protect equipment, and speed a safe, clean setup.”
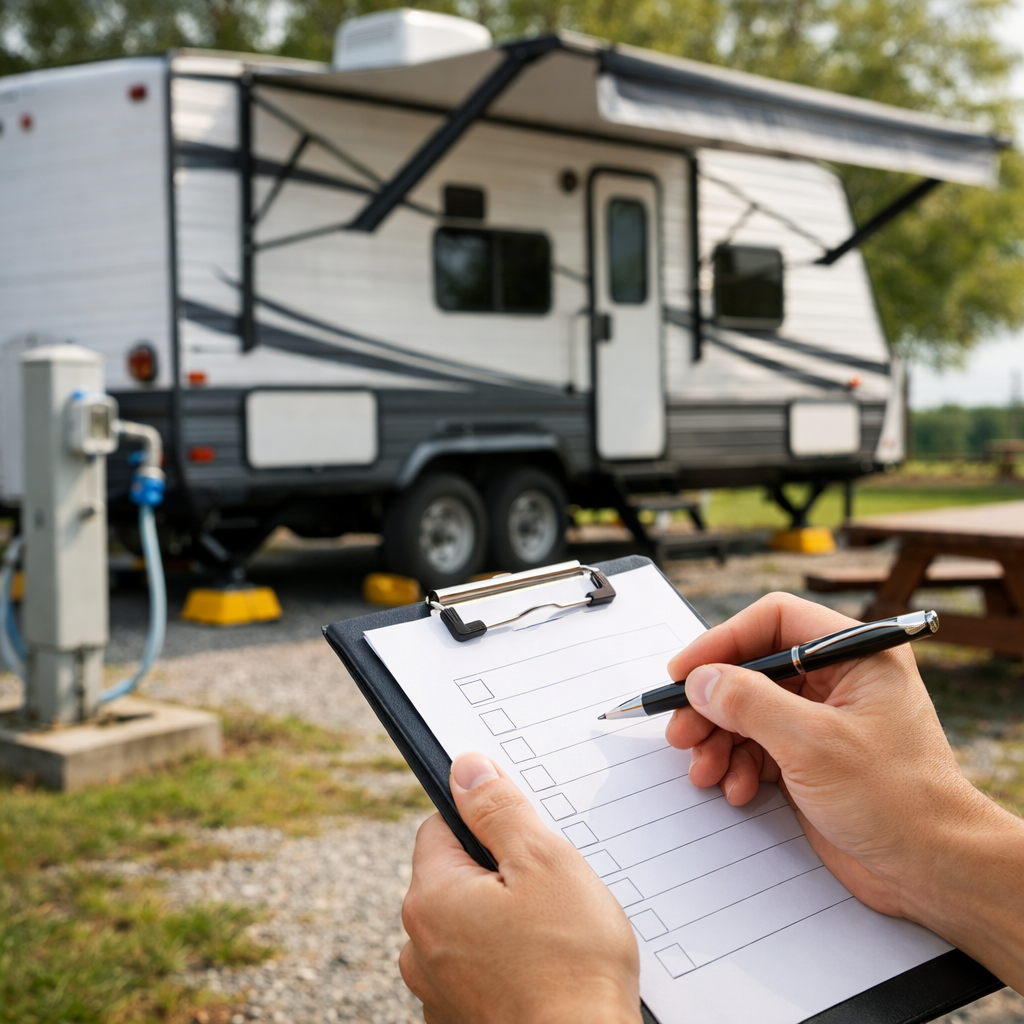
Tip: Keep a 1-page printable in your glovebox and use the scannable lists below from RV Critic on your phone. If you’re renting, confirm inclusions/exclusions (hoses, cords, adapters, surge protector, leveling blocks) before pickup.
Pre-arrival administration
Call the park to confirm reservation details, gate codes, office hours, and late-arrival procedures; a quick pre-call avoids long lines and confusion at RV check-in and ensures you know exactly where to stage on arrival (as noted by Go RVing’s check-in guidance). Save confirmations both digitally and on paper to prevent mix-ups if cell service is weak. RV Critic’s pre-arrival checklist prompts these calls so you don’t miss key details.
Mini-checklist to lock down:
- Arrival window and where to park for check-in
- Site number and type (pull-through vs back-in)
- Hookup type: full, partial, or dry; 30 amp vs 50 amp power
- Park map and RV-safe directions downloaded
- Escort-to-site availability on arrival
Pull-through site — A campsite designed so you can drive in and out without backing; overnight-focused parks often add many pull-throughs to speed guest turnover (see park layout insights for campground buyers).
Vehicle and tow systems
Give your tow vehicle and RV a roadworthy once-over to prevent blowouts, sway, or braking issues. Inspect every tire (tow rig and trailer) for proper inflation, tread depth, cracks, bulges, and dry rot; set pressures per the Federal ID sticker or sidewall. Verify all lights—clearance, turn, and brake—before pulling out. Keystone’s first-time pre-travel checklist underscores how these basics derail more trips than anything else.
Check your hitch and towing hardware:
- Torque hitch bolts and confirm receiver hitch rating meets or exceeds trailer weight; ensure vehicle-specific fitment is correct.
- Set adjustable ball mount height so the trailer sits level to the coupler.
- Use rated safety chains crossed in an X under the tongue.
- Plug the 7‑way wiring and test brake/turn lights; verify the brake controller engages smoothly.
- Consider stainless/marine‑grade or corrosion-protected hitches for coastal or winter routes.
- If using a bumper-mount accessory, confirm tongue weight limits.
Add a tire pressure monitoring system (TPMS) to catch slow leaks early and stabilize handling.
Electrical and power gear
Run a full power systems check at home: plug into shore power, confirm inverter operation, test batteries under load, cycle HVAC, and run the RV generator with appliances to learn your capacity and limits. This rehearsal reveals issues when you still have tools and time.
Pack for pedestal variability:
- Shore cord plus 20/30/50A adapters and a quality surge protector or EMS; these are staple RV camping essentials recommended by veteran outfitters. RV Critic favors an EMS for continuous monitoring.
- Carry a multimeter and spare fuses to diagnose low voltage, bad breakers, or tripped GFCIs quickly, a favorite tip from comprehensive RV packing guides.
Electrical Management System (EMS) — A device that continuously monitors campground power for surges, low/high voltage, and miswiring. It will automatically disconnect unsafe power to protect RV electronics and appliances.
30 amp vs 50 amp at a glance:
| Service | Plug style | Max power (120V) | Common rigs |
|---|---|---|---|
| 30 amp | 3-prong (TT-30) | ~3,600 W | Small–mid trailers, Class B/C |
| 50 amp | 4-prong (14-50) | Up to ~12,000 W (dual 120V legs) | Large fifth wheels, Class A |
Water and sewer hookups
Protect plumbing and keep handling sanitary. Bring a water pressure regulator to avoid over-pressuring lines, plus a dedicated potable-water hose. For waste, use a sturdy sewer hose kit with a clear elbow so you can confirm flow before disconnecting. Pack nitrile gloves, RV-safe toilet paper, spare gaskets, and an extension hose—simple add-ons that prevent common messes, as echoed in printable RV checklist resources.
Leak-free connection steps:
- Attach regulator to the spigot, then hose to regulator; flush hose briefly before connecting to the RV.
- Hand-tighten fittings; avoid overtightening plastic threads.
- At the sewer, seat the adapter firmly, use a support cradle if needed, and cap securely after dumping.
Leveling and stabilization
Leveling protects absorption refrigerators, doors, and shower drains—and makes every night better. Carry wheel chocks and leveling blocks for uneven pads. Test auto-level, jacks, and stabilizers at home to confirm smooth deployment.
Quick leveling flow:
- Chock wheels.
- Rough level side-to-side with blocks.
- Unhitch if needed; deploy jacks to level front-to-back.
- Drop stabilizers; do a final bubble check.
Wood pads spread jack loads on soft ground; composite blocks resist moisture, stack neatly, and are lighter.
Safety and emergency supplies
Keep must-carry gear within reach:
- Fire extinguisher, first aid kit, and a roadside kit (reflective triangles/flares, jumper cables, tire plug kit).
- Verify smoke, CO, and LP detectors; refresh batteries on a schedule.
- TPMS for continuous tire health and better fuel economy.
- Compact tool kit: screwdrivers, wrenches, pliers, utility knife, duct tape, zip ties.
Documentation and payment
Stage a “docs pack” in a zip pouch and a synced folder on your phone:
- Driver’s license, vehicle/RV registration, proof of insurance, and reservation confirmations.
- Credit card plus some cash; remote parks may not accept cards.
- Printed park map and saved office number for quick help if coverage drops.
Campground procedures and etiquette
On arrival, park in the designated check-in area to prevent entrance congestion, then visit the registration office for your site packet and any questions. If available, ask for an escort or spotter help to reach your site. Respect quiet hours, contain trash, and follow posted generator hours—etiquette basics highlighted in national RV camping guides—so you’re a great neighbor from day one.
Navigation and arrival logistics
Plan to arrive in daylight for safer parking and easier hookups. Before the trip, practice driving, turning, and backing in an empty lot to build muscle memory—advice echoed in first-time RV trip guides. Many parks now use reservation software with mobile check-in and park-wide Wi‑Fi; skim your confirmation email for app links or self-check-in notes from operators adopting these systems to speed arrivals.
Interior securement and stowage
Lock down the inside so nothing gets damaged in transit. Secure loose items, latch cabinet doors, and stow the TV antenna. Close roof vents and windows; retract awnings; clear debris from roofs and slide toppers. Final departure sweep: turn off LP valves (unless your fridge requires travel mode per manufacturer), disconnect utilities, and verify all lights before rolling.
Pets, kids, and connectivity prep
Confirm pet policies, breed/number limits, and quiet hours; pack vaccination records, leashes, and waste bags. Give kids a simple safety brief (site boundaries, bikes at walking speed, lights after dusk). Comfort goes up with an outdoor mat, folding chairs, and headlamps. For connectivity, check cell coverage, verify if the park offers Wi‑Fi or mobile check-in, pack power strips and chargers, bring a backup hotspot, and consider a travel router/repeater for marginal signals.
Frequently asked questions
What information should I confirm with the campground before arrival?
Confirm your reservation, arrival window, gate codes, check-in location, site type and length, hookups (30/50A, water, sewer), and late-arrival instructions. Ask about escort-to-site service and quiet hours; RV Critic’s pre-arrival checklist covers these points.
How do I know if my RV and hitch setup will fit my reserved site and hookups?
Match overall length and slide clearances to the site length/type and verify back-in vs pull-through. Confirm hookup locations and amperage, and ensure your adjustable ball mount height and receiver hitch rating align with the trailer’s tongue weight; RV Critic’s site-fit tips help you verify fast.
What electrical gear do I need for 30 amp or 50 amp service at most parks?
Bring a shore cord, the proper 30–50A adapters, and a surge protector or EMS—RV Critic favors an EMS for continuous monitoring. Add a multimeter and spare fuses to diagnose pedestal or RV issues in minutes.
Should I fill fresh water and manage tanks before reaching the campground?
Carry enough fresh water for contingencies but avoid traveling with full tanks to reduce weight. Empty gray/black tanks before arrival when possible, and use a water pressure regulator and quality hose for safe hookups—both are RV Critic basics.
What documents and payments do campgrounds typically require at check-in?
Have your driver’s license, vehicle/RV registration, proof of insurance, and reservation confirmation ready—RV Critic suggests staging them in a simple docs pack. Carry a credit card and some cash since remote parks may not run cards or their systems may be down.
Looking for more gear-first guidance? Visit RV Critic for expert, safety-forward advice you can trust.