Installing new vinyl flooring in an RV can completely transform the interior without requiring a professional installer or breaking the bank. I decided to tackle this project myself after getting tired of the cracked, stained linoleum that came with my used RV. It turned out to be one of the most satisfying upgrades I’ve done on my own, and I’m here to share how you can do it too.
The beauty of vinyl flooring is its flexibility, durability, and water resistance perfect qualities for life on the road. With modern peel-and-stick or click-lock styles, installing vinyl flooring in an RV made easy is more than just a catchy phrase it’s a genuine DIY win. Whether you’re outfitting a fifth wheel, travel trailer, or camper van, this guide will walk you through how to prep, lay, and finish your new flooring confidently.
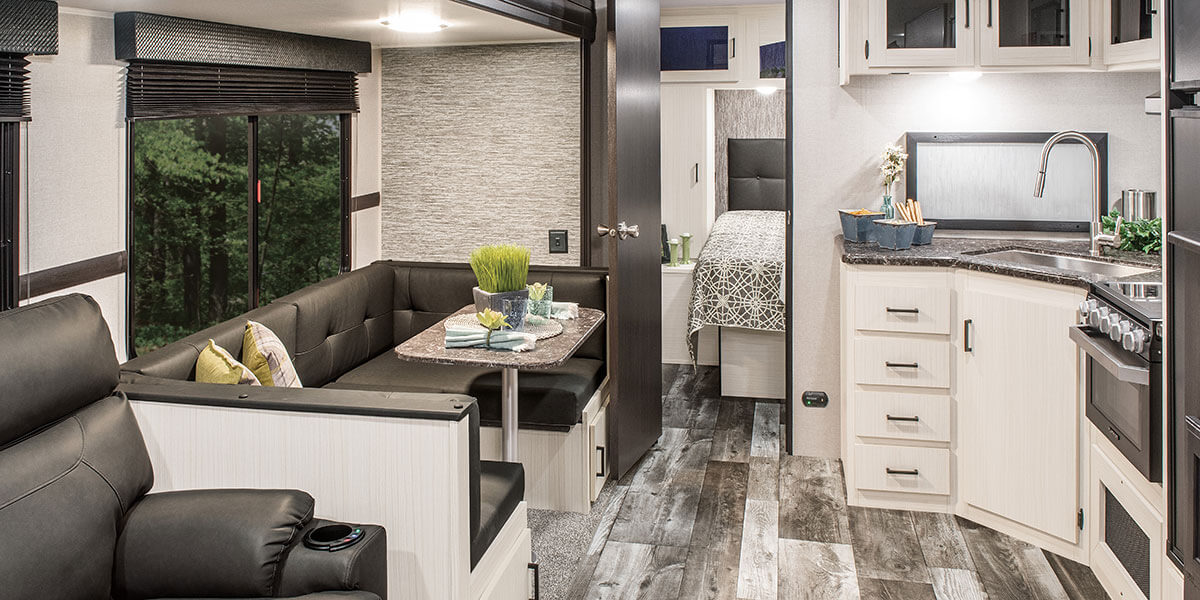
Why Vinyl Flooring Works Well in RVs
Vinyl flooring is one of the best materials for RV use. It handles moisture, dirt, and heavy foot traffic without wearing out quickly. It’s also lightweight compared to laminate or tile, which helps keep your rig within weight limits.
What sold me on vinyl was how easy it is to cut and shape around odd angles. RVs are rarely made with square corners, and being able to work with a forgiving material made all the difference. I also liked that I didn’t need a ton of tools or adhesives to get a smooth, professional look.
Whether you go with sheet vinyl, vinyl planks, or peel-and-stick tiles, the material gives you a clean and modern look that’s easy to maintain.
Prepping Your RV Interior for New Flooring
Before you lay any flooring down, it’s critical to prepare the surface. I started by removing all the furniture and fixtures that could be easily moved, including the table, chairs, and anything bolted to the floor. If your RV has a slide-out, take note of how it will interact with the new flooring when retracted.
Once the space was cleared, I removed the old flooring. This part can get messy, especially if there’s glue residue or staples involved. I used a floor scraper to loosen any stuck pieces and pulled everything out by hand. After removing the old material, I cleaned the subfloor thoroughly with a vacuum and a damp cloth.
In my case, the subfloor was in decent shape, but if you notice soft spots, rot, or mold, that needs to be fixed first. I patched a small soft area with plywood and wood filler, letting it dry overnight before sanding it flush.
Choosing the Right Type of Vinyl Flooring
I had three main options: sheet vinyl, vinyl plank (LVP), and peel-and-stick tiles. Each has its advantages depending on your layout and experience level.
- Sheet vinyl is the most cost-effective and water-resistant, but it’s harder to install because one mistake can ruin the entire piece.
- Luxury vinyl plank (LVP) is more rigid and clicks together like puzzle pieces, giving a high-end look.
- Peel-and-stick tiles are perfect for beginners and make fitting around corners and appliances much easier.
I chose peel-and-stick tiles because my RV has a lot of narrow areas and built-in furniture. It gave me the flexibility to work piece by piece, and I didn’t need special tools.
Installing vinyl flooring in an RV made easy is all about choosing a product that fits your space and your comfort level with DIY work.
Tools and Supplies You’ll Need
This project doesn’t require a professional workshop. I gathered everything I needed from my toolbox and a single hardware store trip.
Here’s what I used:
- Utility knife with extra blades
- Straight edge or T-square
- Measuring tape
- Chalk line or pencil
- Vinyl floor roller (optional but helpful)
- Floor cleaner or degreaser
- Pry bar and scraper
- Heat gun or hairdryer for tricky corners
- Vinyl adhesive (if using LVP or sheet vinyl)
Having these on hand kept the project moving smoothly without interruptions.
Measuring and Planning the Layout
One of the most important steps is planning your layout before sticking anything down. I measured the length and width of each section, including nooks and under cabinets. Then I laid out a few tiles or planks to get a sense of how they’d fit.
I made sure to stagger seams between tiles to mimic natural wood or stone patterns and avoid creating weak points. For sheet vinyl, I laid it down dry to trace around corners and appliances before applying adhesive.
Marking a centerline in the room helped me install straight and even rows. RV spaces are tight, so every inch counts when it comes to visual alignment.
Installing the Vinyl Flooring
This is where the fun began. I started at the back of the RV and worked toward the entrance to avoid stepping on freshly placed tiles. Each piece was pressed firmly into place, smoothed from the center out to avoid bubbles.
With peel-and-stick tiles, I found it helpful to warm up the adhesive slightly using a hairdryer in cooler temperatures. For planks or sheet vinyl, using a roller to press the material down gave it a more secure bond.
Cutting around corners, vents, and cabinetry was simple with a sharp utility knife. I made sure to double-check my cuts before committing, and I kept scrap pieces handy to fill gaps or test layouts.
If installing vinyl flooring in an RV made easy sounds too good to be true, just know that taking your time and working in sections makes the process truly manageable.
Trimming and Finishing Touches
Once the floor was completely installed, I added vinyl trim along the edges and around cabinetry for a finished look. In some places, I used silicone caulk to seal the edge, especially near the bathroom and kitchen where water might splash.
Reinstalling furniture was simple, and I avoided screwing through the vinyl directly. Instead, I secured items using the same mounting holes as before or surface-mounted brackets.
I gave the entire floor a light mop and let it cure for 24 hours before moving heavy items back in. That allowed the adhesive to set and prevented shifting.
Maintaining Your New Floor
Vinyl flooring is low maintenance, which is great for RV life. I sweep or vacuum regularly to remove dust and use a damp mop with a gentle cleaner every week or so. Avoid harsh chemicals or steam cleaners, as they can damage the finish or loosen adhesive over time.
If a section gets damaged, I keep a few spare tiles for a quick swap-out. With peel-and-stick or plank-style vinyl, replacing a single piece is easy.
Installing vinyl flooring in an RV made easy also means maintaining it shouldn’t become a burden. Regular care keeps it looking fresh trip after trip.
Cost Breakdown and Time Estimate
For a 24-foot RV, I spent about $150 on materials, including the flooring, trim, and adhesive. Tools added another $30, but I already owned most of them.
The total project time was about six hours, split over two days. Day one was prep and removal, and day two was layout and installation.
For a budget-friendly upgrade with a big impact, I’d say this project is well worth the effort.
Mistakes to Avoid
To save you some trouble, here are a few lessons I learned the hard way:
- Don’t rush the layout. I had to peel up a few tiles after misaligning them early on.
- Measure twice, cut once. Corners and curves require precision.
- Don’t skip cleaning the subfloor. Dust or oil weakens the adhesive.
- Don’t leave big gaps at the edges. These can collect dirt or allow moisture under the floor.
Following a methodical approach helped me avoid major problems and made the final result look professional.
Benefits of DIY Flooring in an RV
There’s a real sense of satisfaction when you look down at a new floor you installed yourself. It feels cleaner, looks brighter, and adds value to your rig. Guests notice it immediately, and I no longer cringe when walking barefoot inside.
Learning that installing vinyl flooring in an RV made easy was more than a project it was a reminder that many RV improvements are within reach if you’re willing to try.
Final Thoughts
Installing vinyl flooring in an RV made easy isn’t just a catchy blog title it’s a real, approachable project that can totally elevate your RV living experience. From prep to finish, this is a doable weekend project that requires minimal tools and provides long-term benefits.
Vinyl flooring offers durability, water resistance, and an appealing finish that holds up to the wear and tear of travel. Whether you’re remodeling your entire interior or just refreshing one section, this upgrade provides a big payoff without a hefty price tag.
If you’ve been thinking about upgrading your RV floor, I say go for it. A fresh floor makes the space feel like new and adds a touch of personal pride to every mile you drive.