When you’re living in an RV full-time or heading out for weekend getaways, light control is one of those little things that can make a huge difference. Whether it’s the early morning sun blazing through the window or campground lights keeping the rig lit up at night, light can be an unwelcome guest. Installing blackout shades in your RV is one of the simplest upgrades that enhances comfort, sleep quality, and privacy.
I’ve spent enough nights tossing and turning in a brightly lit campground or trying to nap midday while sunlight poured in through the standard factory blinds. Most RV window treatments are purely decorative and offer little to no real shading or insulation. That’s what led me to start installing blackout shades in my RV, and the results were immediate.
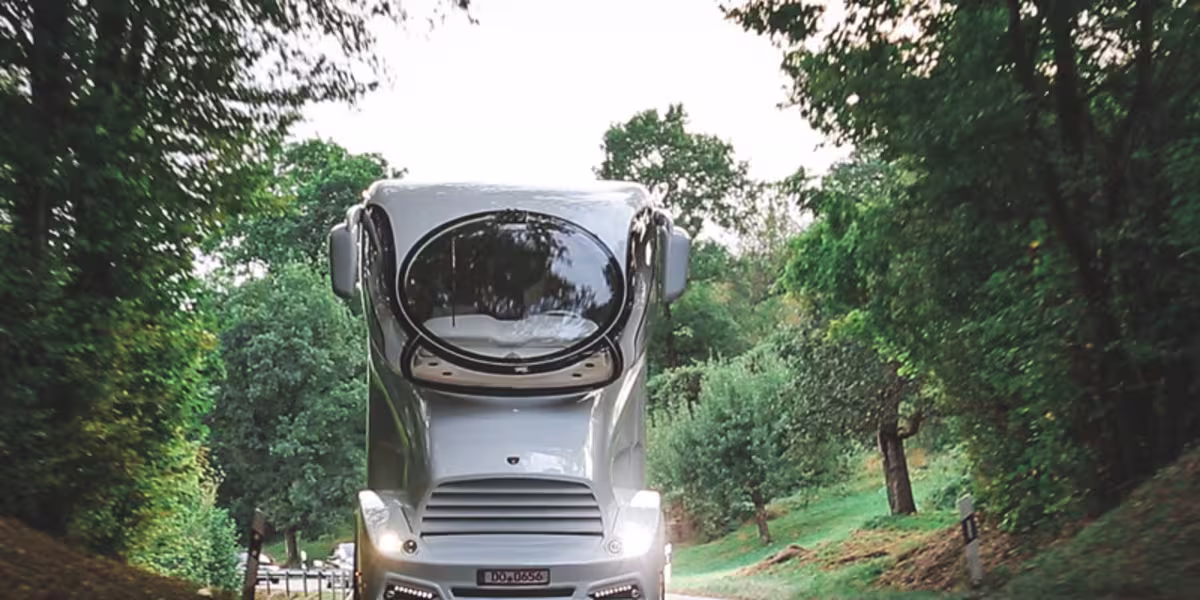
The process doesn’t require advanced tools or any specialized skills. Whether you’re working with standard RV windows, odd-sized frames, or even large panoramic rear windows, there’s a blackout solution that fits. This guide walks through everything I learned while upgrading my RV with blackout shades, including materials, step-by-step installation, and what to avoid.
Why Blackout Shades Matter In RV Life
Installing blackout shades in your RV isn’t just about sleep. These shades play a huge role in regulating temperature inside your rig. On hot days, especially when parked in direct sunlight, blackout materials can block solar heat, reducing the strain on your air conditioner. In the winter, they add an extra layer of insulation that keeps warmth inside.
They also provide total privacy, which is important whether you’re parked at a busy campground or stealth camping in urban areas. With blackout shades in place, nobody can peek inside even with the lights on. That kind of peace of mind makes a big difference when you’re living or traveling in close quarters.
Another reason I installed them was for better movie nights. On rainy days or lazy evenings, watching a show without glare on the screen was nearly impossible with the old blinds. After installing blackout shades in your RV, those reflections are gone, and it’s like being in a tiny private theater.
Choosing The Right Blackout Shades
Before installing blackout shades in your RV, you’ll need to decide which type works best for your layout. There are several popular options:
Roller Shades
These are sleek and minimal. They roll up and down with a spring-loaded mechanism or chain. Some come in dual designs that allow you to switch between sheer and blackout fabrics.
Pleated Night Shades
A common upgrade for older RVs. These fold accordion-style and are made from blackout fabric. They’re easy to cut to custom sizes and look clean in most interiors.
Cellular Shades
Also called honeycomb shades, they trap air between layers and offer the best insulation. Many brands offer complete blackout versions that are both functional and stylish.
Magnetic or Velcro Shades
For RVers who want a non-permanent or budget-friendly option, magnetic or Velcro blackout panels attach directly to the window frame. They can be folded or rolled away when not in use.
When installing blackout shades in your RV, I recommend considering the climate you travel through most. For full-timers in hot areas, go with cellular or thermal-backed shades. For occasional use or renters, magnetic panels may be enough.
Tools And Materials You’ll Need
To keep things simple and neat, gather these supplies before starting:
- Blackout shades (cut to window size or adjustable)
- Mounting brackets or tracks (usually included)
- Screws and wall anchors
- Screwdriver or drill
- Measuring tape
- Level
- Pencil
- Optional: adhesive Velcro strips or command hooks for non-drill installations
I also used a step stool to reach higher windows and a small vacuum to clean up any wood or drywall dust during drilling.
Step-By-Step Guide To Installing Blackout Shades In Your RV
Step 1: Measure Every Window Twice
RV windows are rarely uniform in size. Even in newer rigs, you’ll notice slight variations that can impact fit. Use a flexible tape measure and write down the height and width of each window. Be sure to measure both the inside frame and the outer edge if you’re not sure which mount you’ll use.
Measure twice to avoid ordering shades that are too wide or too short. If you’re cutting shades yourself, always err on the side of slightly larger you can trim later.
Step 2: Choose Inside Or Outside Mounting
Blackout shades can be mounted inside the window frame or outside (overlapping the trim). Inside mounts look cleaner and are better for shallow windows. Outside mounts provide more coverage and are ideal if the frame isn’t perfectly square.
For my main living area, I went with inside mounts to keep things sleek. In the bedroom, I chose outside mounting to block every bit of light.
Step 3: Mark Mounting Points
Hold the brackets up to the window frame and use a pencil to mark where the screws will go. If you’re mounting into solid wood or aluminum, you’re good to go. For drywall or thin trim, use anchors or shorter screws that won’t penetrate through to the outside.
Double-check your markings with a level. Crooked shades are a small thing that can become an annoyance over time.
Step 4: Drill And Secure Brackets
Use your drill or screwdriver to secure the mounting brackets. Most shades have snap-in or slide-in heads, so make sure the brackets are aligned and level with each other. I recommend drilling pilot holes first, especially in wood framing, to prevent splitting.
If you’re using Velcro or command-style mounts for removable shades, clean the surface with alcohol before applying adhesive.
Step 5: Install The Shade And Test
Attach the blackout shade according to the instructions usually by sliding the top bar into the brackets. Give it a test by pulling it down and back up. If it binds or feels uneven, remove and adjust the brackets slightly.
Repeat this process for each window. I found it helpful to do the largest windows first, since those require the most precision and are the most noticeable.
Step 6: Finishing Touches
Once all shades are in place, do a walk-through with the lights on to check for gaps. If any light leaks through the sides, consider adding side tracks or blackout curtain panels. Some RVers even add blackout film to the glass itself for extra coverage.
Installing blackout shades in your RV doesn’t require perfection, but getting a snug fit makes all the difference when it comes to sleeping in or blocking out a bright sunset.
Tips For A Smooth Installation
- Label each shade before starting, especially if sizes are close together
- Use cordless shades for safety in rigs with pets or kids
- If your window is near a slide-out, make sure the shade won’t interfere with operation
- Upgrade to motorized blackout shades if you want extra convenience and have 12V access
If you travel with multiple drivers or stay in urban areas often, motorized shades can be controlled remotely or on a schedule. I installed them on just the windshield, and it’s been a game-changer.
Maintaining Your Blackout Shades
Blackout shades don’t need much attention, but a little care goes a long way:
- Dust regularly with a microfiber cloth
- Use a vacuum with a soft brush for pleated or cellular styles
- Spot clean with a damp cloth avoid soaking or harsh cleaners
- Keep shades rolled up when driving to prevent wear from vibration
If you use adhesive blackout panels, check the Velcro or magnets every few months to ensure they stay secure.
Alternative DIY Blackout Solutions
If you’re working with a tight budget or want temporary shading, here are a few options:
- Cut reflective insulation (like Reflectix) to fit your windows
- Hang blackout curtains with spring tension rods
- Use black foam core boards for a quick pop-in solution
These work especially well for RVers who boondock and need maximum darkness but don’t want to install permanent fixtures.
Why I’ll Never Go Back To Standard Blinds
Installing blackout shades in your RV transformed the way I camp. I can nap during the day, sleep past sunrise, and enjoy quiet evenings with full privacy. It’s one of those upgrades I wish I’d done sooner. It’s also a great way to make your rig feel more like home, especially if you’re on the road full-time.
Whether you’re escaping to the desert, parking at a crowded festival, or just camping at your local state park, blackout shades give you control over your environment. That’s a game-changer when every bit of rest and comfort counts.