Driving and parking an RV can be a real challenge, especially when you’re navigating tight spaces or trying to reverse into a camping spot. One tool I’ve found incredibly useful is a reliable backup camera. It adds an extra set of eyes to the rear of your rig, helping to avoid obstacles, protect your investment, and reduce stress behind the wheel. If you’ve been thinking about upgrading your setup, installing a backup camera on your RV step-by-step is absolutely doable on your own.
Not only does a backup camera improve safety, but it also gives you peace of mind, especially if you travel solo or frequently move between different campgrounds. With a little preparation and the right tools, the installation process becomes straightforward even if you’ve never worked with wiring before. This guide will walk you through everything you need to know, from choosing your camera to mounting it securely and connecting it to your display.
Let’s get started on installing a backup camera on your RV step-by-step and make your travels smoother and safer.
Why a Backup Camera Is Worth It
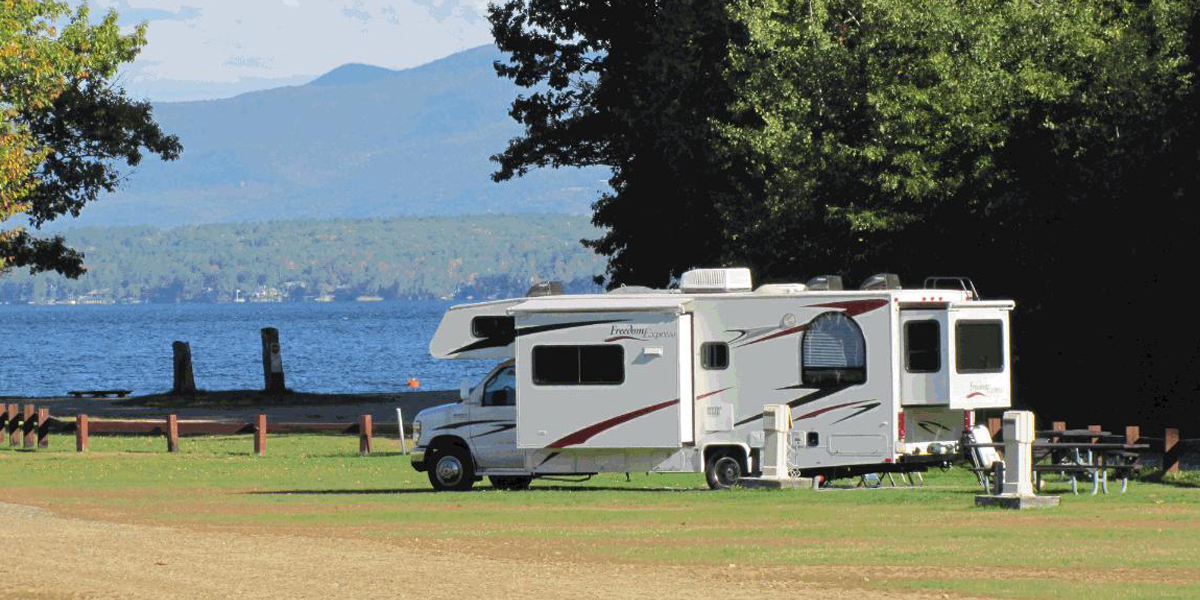
Reversing an RV whether it’s a Class A motorhome, fifth wheel, or travel trailer can be a nerve-wracking experience. Blind spots are large, and even a minor misjudgment can lead to expensive damage or a frustrating accident. I’ve found that having a backup camera not only reduces the stress of maneuvering but also makes hooking up a trailer much easier.
With the camera feed displayed on a monitor in the cab, you can keep your eyes on what’s behind you without needing a spotter. Whether you’re backing into a site, avoiding curbs, or trying to monitor your towed vehicle, the camera view gives you greater control.
There are wired and wireless camera options, both of which have their pros and cons. Wired cameras are more reliable and consistent in terms of video signal, while wireless models are easier to install and don’t require running long cables through your rig.
Tools and Supplies You’ll Need
Before installing a backup camera on your RV step-by-step, gather all the tools and equipment. This will save you time and frustration once you’re on the roof or underneath the RV.
Here’s a basic list:
- Backup camera system (wired or wireless)
- Monitor (if not included with the camera)
- Power drill and drill bits
- Screwdriver
- Sealant or silicone caulk (for waterproofing)
- Fish tape or coat hanger (to help run wires)
- Wire crimpers and strippers
- Electrical tape or heat shrink tubing
- Zip ties or cable clips
- Voltmeter or circuit tester
- Ladder (for roof access)
- Safety goggles and gloves
Make sure to check the user manual that comes with your specific camera. Some brands include special mounting brackets or tools. Having the right items on hand ensures your install goes smoothly.
Planning Your Camera Placement
Placement is one of the most important steps when installing a backup camera on your RV step-by-step. A poorly positioned camera won’t give you a clear view of what’s behind you. Ideally, the camera should be centered at the rear of the RV, high enough to capture the full scene without too much sky or ground.
I like to mount mine just above the rear window or taillights. If your rig has a rear marker light at the top, that’s often a good place to install the camera, as it may already have wiring you can tap into. Some models are designed to fit in place of or next to these lights.
Before drilling any holes, tape the camera in place and test the angle using a temporary power supply. This helps ensure you’ve got the field of view you want before committing to a location.
Mounting the Camera
Once you’ve decided where to mount it, go ahead and attach the camera bracket to your chosen spot. If you’re drilling into the RV’s rear wall or siding, be sure you’re not hitting any internal components like plumbing or wiring. I always recommend using a small drill bit to create a pilot hole first.
After securing the bracket, attach the camera to the mount and feed the wire through the opening. If it’s a wireless camera, this is mostly for power. For wired systems, this wire will connect all the way to your display in the front cab.
Use a generous amount of waterproof sealant around the mounting screws and the entry point for the wire. This helps protect your RV from water leaks, which can be a costly headache if ignored.
Running the Wires (Wired Cameras)
Running wires through an RV can seem intimidating, but it’s manageable with a little patience. Start by planning a path from the rear camera to the dashboard monitor. You can often use the existing cable conduits, ceiling panels, or cabinetry to conceal the wire.
Use fish tape or a stiff wire hanger to help guide the cable through tight spots. In some cases, you may want to run the wire underneath the RV along the frame, using zip ties to secure it in place. Just make sure it’s not dangling or in a spot where road debris could damage it.
If your camera is powered by the taillight or reverse light, splice into those wires using a circuit tester to find the correct leads. Always use heat shrink connectors or crimp caps for a secure connection. If your system uses a 12V constant power source, you may want to connect it directly to your RV’s battery, adding an inline fuse for safety.
Installing the Monitor
Next, you’ll need to set up the monitor inside the cab. Most RV monitors are dash-mounted, clipped to the rearview mirror, or installed as a replacement mirror. Some even integrate with your stereo head unit.
Start by finding a suitable power source. Many monitors are powered via a 12V cigarette lighter or hardwired into the dashboard fuse box. For a clean look, I prefer hardwiring mine using a fuse tap, which lets me draw power safely without damaging the original wiring.
Mount the monitor using the supplied bracket or suction cup, and connect the video cable if it’s a wired system. Wireless models usually pair automatically or require a short setup via buttons on the camera and monitor.
Once connected, turn on the ignition and test the feed. You should see a clear image from your backup camera. If not, double-check the wiring, signal input, and power source.
Testing the System
Now that everything is connected, it’s time to test the system in real-world conditions. Have someone stand behind the RV while you slowly reverse and watch the monitor. Adjust the camera angle if needed, especially if the view cuts off important areas or shows too much of the bumper.
Try backing into a parking spot or near a curb to make sure you can judge distances accurately. Test in both daylight and low-light conditions if your camera has night vision. Some units come with gridlines to help estimate space; make sure these are aligned properly for best results.
If the image cuts in and out, inspect the wiring connections. For wireless systems, check the signal range and look for interference from other electronics or metal obstructions.
Maintenance Tips
Once you’re done installing a backup camera on your RV step-by-step, regular maintenance will help keep the system performing well. Wipe the camera lens clean of dirt, bugs, and moisture before every trip. Dust and grime can make even a great camera nearly useless.
Also, periodically inspect the wires and mounts to ensure everything is secure and undamaged. On rough roads or in high heat, adhesives and zip ties can loosen. It’s a good idea to do a quick visual check during your pre-trip inspections.
If the system starts acting up, troubleshoot by testing the power source, checking the monitor connections, or resetting the camera settings. Most issues come down to loose wiring or bad connections.
Cost and Time Estimate
The total cost of installing a backup camera on your RV step-by-step depends on the system you choose. Entry-level wireless kits can run under $100, while high-end wired systems with dual cameras may cost $300 or more. Factor in a few basic tools and materials if you don’t already own them.
As for time, plan for 2 to 4 hours depending on your experience level and whether you’re dealing with a wired or wireless model. Take your time and double-check every connection to avoid frustration later.
Final Thoughts
Installing a backup camera on your RV step-by-step is one of the smartest upgrades you can make to your travel setup. It improves safety, makes parking and maneuvering easier, and gives you more confidence when exploring new destinations. Whether you opt for a wired or wireless system, following this step-by-step guide can help you avoid the pitfalls of DIY installation.
Once everything is installed and working properly, you’ll wonder how you ever traveled without it. A backup camera doesn’t just make RVing more convenient it makes it safer for you and everyone around you.
Let me know if you’d like a companion product guide with the best cameras for your RV setup or a downloadable installation checklist.