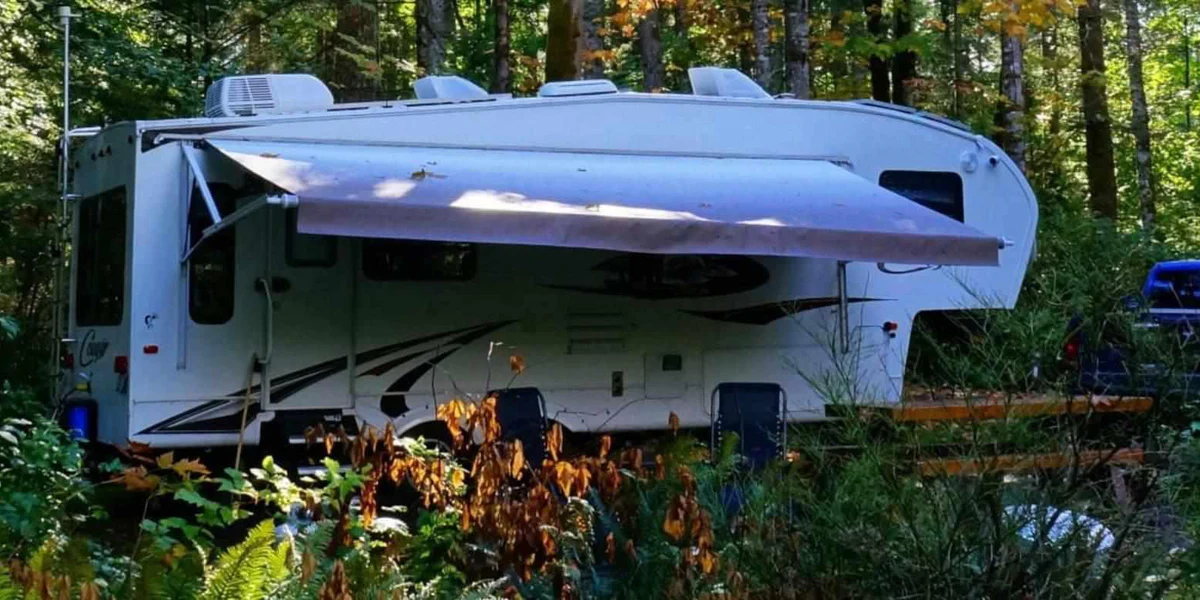
Dealing with a leaking RV roof can quickly turn into a frustrating experience. Even a small leak can lead to water damage, mold, and structural problems if left unchecked. I’ve learned through trial, error, and plenty of roof inspections that the key to maintaining your rig’s health is catching and sealing leaks before they get worse. The good news is, you don’t always need a professional to fix it. With the right materials and a bit of patience, you can learn how to seal RV roof leaks yourself and save hundreds of dollars in the process.
Roof leaks in RVs are more common than people think. Weather exposure, UV damage, or just regular wear and tear from travel can all take their toll. Whether your roof is made of rubber (EPDM or TPO), fiberglass, or aluminum, the repair process doesn’t have to be intimidating. The key is using the correct products and making sure the area is cleaned, prepped, and sealed correctly.
If you’re ready to take matters into your own hands, this guide breaks down every step you’ll need to follow to get the job done right. I’ll walk you through how to seal RV roof leaks yourself, from identifying the leak to applying the final coat of sealant and keeping your rig safe from future damage.
Spotting the Source of the Leak
Before anything else, you’ve got to find the problem. Not all leaks are easy to spot, especially if they’re small or tucked under a roof vent or skylight. The best way I’ve found to locate a leak is to do a visual inspection during dry weather and then again right after rain.
Walk the roof slowly and check all seams, vents, skylights, air conditioning units, and antennas. Look for cracks, bubbles in sealant, loose caulking, or spots that feel soft underfoot. Inside the RV, look for stains on the ceiling, bubbling wallpaper, or the smell of mildew. These are all signs you’ve got a leak.
If you suspect a spot but can’t confirm it, try using a hose to simulate rainfall. Spray the roof gently and watch inside for signs of dripping or dampness. Once you find the exact spot, mark it clearly with painter’s tape so you can return to it during the repair.
Gathering the Right Supplies
Once the leak is located, it’s time to gather supplies. You don’t need a truckload of gear, but having the right tools will make this process smoother. Here’s what I recommend having on hand:
- Roof sealant or lap sealant (appropriate for your RV roof type)
- Self-leveling sealant for horizontal surfaces
- Scraper or putty knife
- Roof cleaner or mild soap
- Rags or microfiber towels
- Mineral spirits or denatured alcohol (for cleaning stubborn spots)
- Rubber gloves
- Caulking gun (if using tube sealant)
- Roofing tape (for large cracks or seams)
- Ladder or scaffolding (to reach the roof safely)
The type of sealant matters. If your RV has a rubber roof, use a sealant specifically designed for EPDM or TPO. For fiberglass or aluminum roofs, look for a compatible product. Never use standard household caulk it won’t hold up to the weather and movement of an RV.
Cleaning and Preparing the Surface
Before you can seal anything, the surface needs to be cleaned. Dirt, grime, old sealant, and debris can prevent the new sealant from adhering properly. This step is essential if you want your repair to last.
I usually start by wiping the area down with soapy water and a rag. After rinsing and letting it dry, I go in with a cloth dampened with mineral spirits or denatured alcohol to get rid of any residue. If the old sealant is cracked or peeling, remove it with a scraper or putty knife but be careful not to damage the roof membrane underneath.
Once the surface is dry and clean, you’re ready to seal. Knowing how to seal RV roof leaks yourself means understanding that surface prep is just as important as the sealing itself. If you skip this step or rush it, the sealant may peel away or fail within months.
Applying Sealant to the Leak Area
Now it’s time to actually plug that leak. If you’re working on a seam or a small crack, a tube of self-leveling lap sealant will usually do the job. Just apply a steady bead of sealant over the crack or around the fixture. For vertical surfaces or areas with curves, use non-sag sealant instead.
Start by cutting the tip of the sealant tube at a 45-degree angle, load it into your caulking gun, and gently squeeze a consistent line. Let it flow out smoothly and cover the entire area. Self-leveling sealants will spread out on their own don’t try to smooth it with your fingers unless the label says it’s okay.
If you’re sealing a larger section, you might need to apply a piece of roofing tape first, then seal over it. Apply the tape to the clean surface, press it down firmly, and add a layer of sealant over the edges. This method works great for wide cracks or areas where old sealant has failed entirely.
One important note: avoid applying sealant during wet or humid weather. It needs a dry surface to adhere properly, and most products need at least 24 hours of curing time without rain.
Letting It Cure and Inspecting the Work
After applying the sealant, don’t rush the drying process. Let it sit undisturbed for at least 24 to 48 hours. Depending on the temperature and humidity, full curing may take up to a week. During this time, try to avoid walking on the roof or exposing it to heavy rain if possible.
After it’s dry, go back and inspect the area carefully. Look for any gaps, bubbles, or missed spots. If you notice an issue, add another small layer of sealant right on top. Once you’re confident the seal is watertight, test it by spraying water on the roof again and checking for leaks inside.
Learning how to seal RV roof leaks yourself also means knowing when to recheck your work. I usually mark the repair date on a calendar and inspect it again a month later to ensure everything’s holding up.
Preventing Future Leaks
Fixing a leak is only part of the job. If you don’t want to end up back on the roof every few months, you’ve got to do some preventative maintenance. I make it a habit to inspect my roof every three months, and especially after major storms or long trips.
Check all seals, especially around vents, skylights, and air conditioning units. If you see any cracks forming, add a small amount of sealant to stop it from spreading. Also, give the entire roof a good cleaning a couple of times a year to prevent buildup that can trap moisture.
Another tip is to park in shaded areas when possible. UV rays degrade sealant and roofing material over time. Using a protective roof cover when your RV is in storage can also extend the life of your roof and help prevent leaks.
Materials to Avoid
Not all products are safe for RV roofs. I’ve seen people try to use silicone caulk or construction adhesive to patch a leak, and it almost never ends well. These materials don’t expand and contract with the roof as it moves, and they’re nearly impossible to remove if you need to reapply later.
Stick with products labeled specifically for RVs. If in doubt, check your roof material and buy accordingly. EPDM and TPO rubber roofs, for instance, require different types of sealants than fiberglass or metal.
Knowing how to seal RV roof leaks yourself also means knowing what not to do. Taking shortcuts with inferior materials will usually cost more in the long run.
When to Call a Professional
Sometimes, even with the right tools and best intentions, a leak just won’t stop. If you’ve sealed the area and still see water coming in, or if the roof feels spongy or shows signs of structural damage, it’s time to bring in a professional.
Also, if you’re dealing with a very large leak, delamination, or mold inside the ceiling, that’s outside the scope of a simple DIY fix. Roof replacements or full reseals should always be handled by experienced technicians.
Still, most leaks are manageable with a bit of patience and effort. Once you know how to seal RV roof leaks yourself, you’ll have the confidence to handle minor issues before they grow into costly repairs.
Final Thoughts
Water damage can sneak up on you fast in an RV. But having the skills and tools to seal a roof leak puts you back in control. Whether you’re in a remote boondocking spot or parked in a campground, the ability to fix a leak on your own is one of the most useful things you can learn as an RVer.
The process isn’t complicated, but it does require care. By taking the time to identify the problem, clean and prep the surface, and apply the right materials, you’ll not only stop the leak but extend the life of your RV roof. Now that you know how to seal RV roof leaks yourself, you’ll be better prepared to protect your rig and keep your adventures rolling, rain or shine.